Hi gents,
Thought I would introduce my '88 GSR-VR which I've been working away on since picking it up this time last year now. Originally from Sydney once imported, it then made it's way to Sunshine Coast QLD where it resided for a number of years before I took the keys to this special machine & drove it back 1,800 kilometers to it's current home now in Melbourne. I had a strong gut feeling in the beginning to make this trip so I followed through with it & it got me home in one piece. Didn't miss a beat the whole journey, all 22 hours.
I am the 3rd Australian owner since being imported in 2007. The car itself was in need of some TLC & still is for 28 years old, though it's making good progress this far. This being a late build Starion & one of the last means it got all the good gear standard.
Plans are to restore it to a satisfactory level & to keep it on the road to be enjoyed.
A small list of progress photos when I've had my phone camera handy can be found on my Minkara account in a well categorized maintenance record section: http://minkara.carview.co.jp/en/userid/2621565/car/2185614/note.aspx
Specs:
Make: Mitsubishi
Model: Starion GSR-VR
Year: 1988
Color: W09
Engine: G54B
Trans: Automatic (originally)
Modifications/Maintenance
Exterior:
- 'GSRVR' license plates
- Wide body mud flaps
- Conquest side mirrors (using JDM motor/wiring) [25/05/16]
- Conquest tail lights (green bulbs used to emit amber blinkers)
- Pajero clear side indicators [05/04/16]
- Reproduction 'GSR-VR' hatch decal
- Philips H4 X-treme Vision Plus [28/06/16]
- Philips H3 Power2night X-treme fogs [30/06/16]
- Smoked front indicator lenses
- Black powder coated fog light frames
- Tinted windows
- Polished exterior locks
- Rock guard decals removed
To be fitted:
- Niko Fab air dam
- Reproduction 'Intercooler turbo' decals
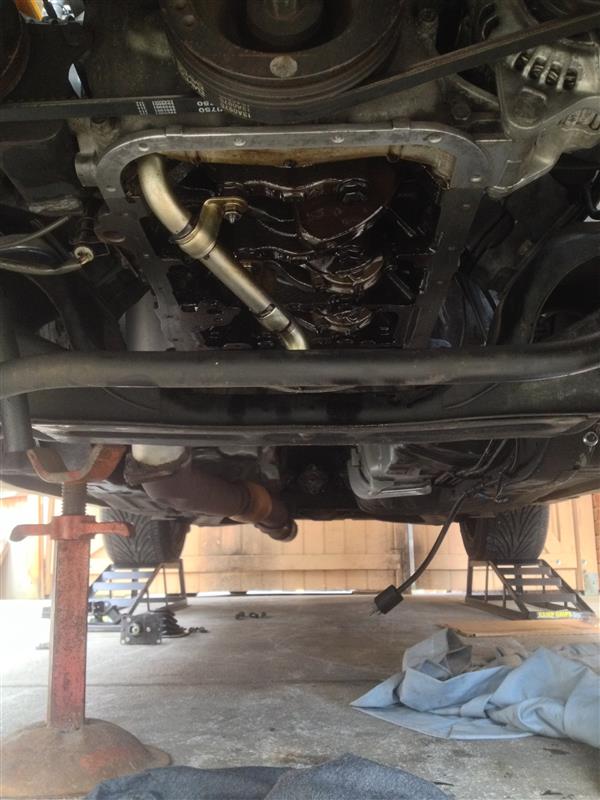
Engine Mods/Maintenance:
- Oil changed every 5000km w/ Penrite HPR30
- New OEM timing chain [20/02/17]
- New OEM oil pump [20/02/17]
- New Aisan water pump [20/02/17]
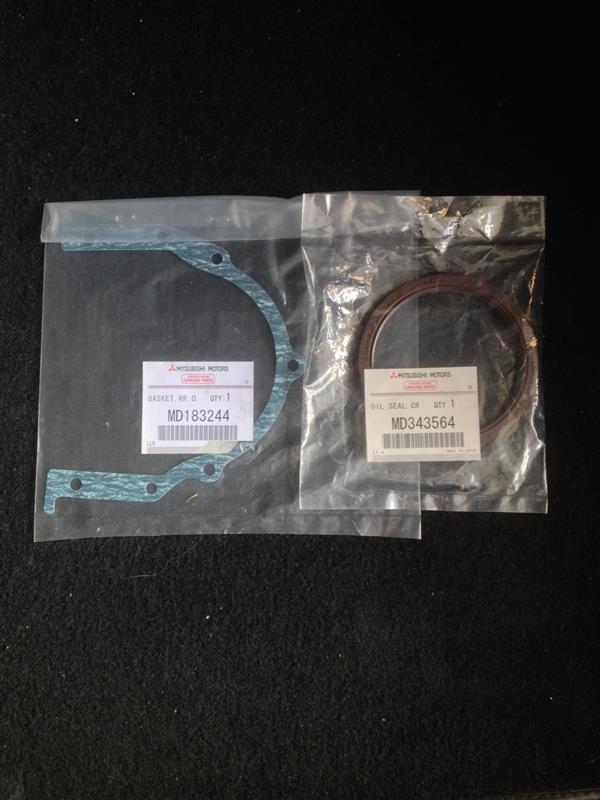
- New OEM timing chain guides & OEM gaskets [20/02/17]
- New OEM rocker cover gasket & seals [20/02/17]
- New Fel-Pro intake manifold gasket
- BSE elimination kit [20/02/17]
- TEP Intercooler hard pipe kit w/ Turbosmart dual port recirculated BOV [--/11/16]
- Magna M6 head [PO]
- ACL Duralite pistons [PO]
- New RHS engine mount [26/04/16]
- New OEM LHS engine mount
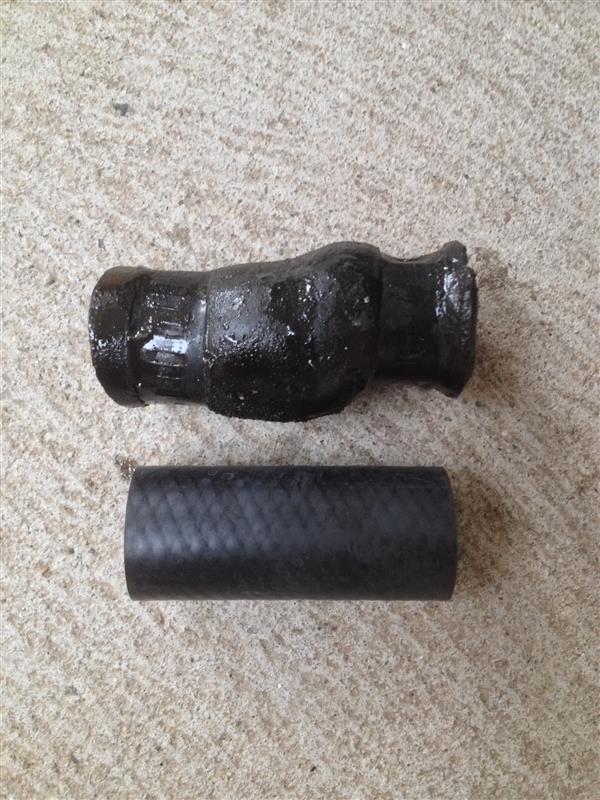
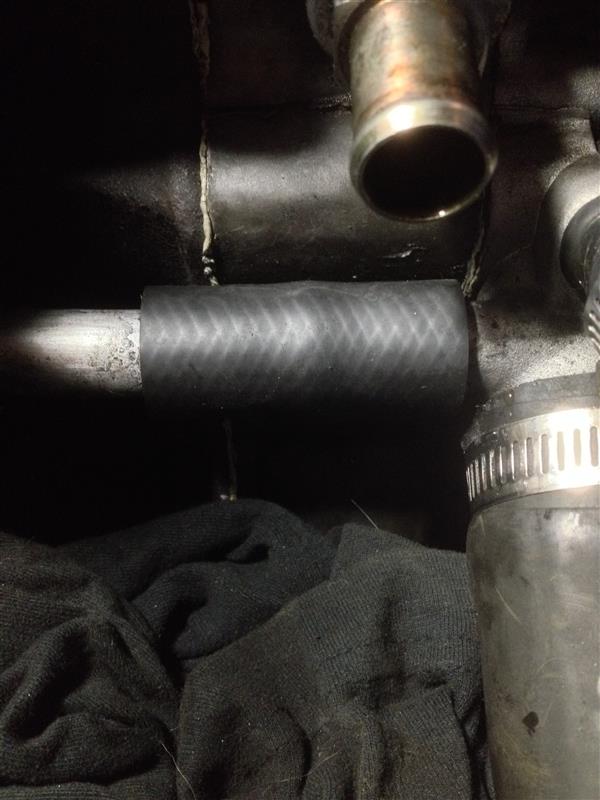
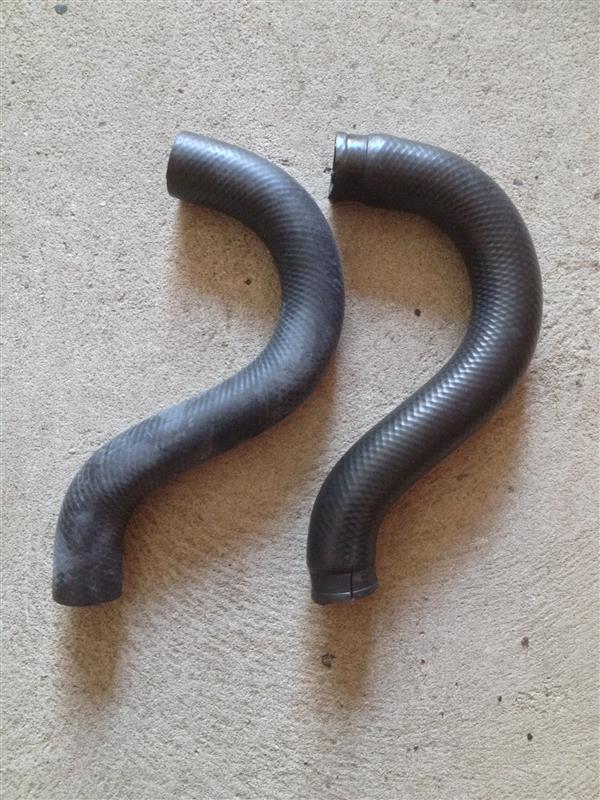
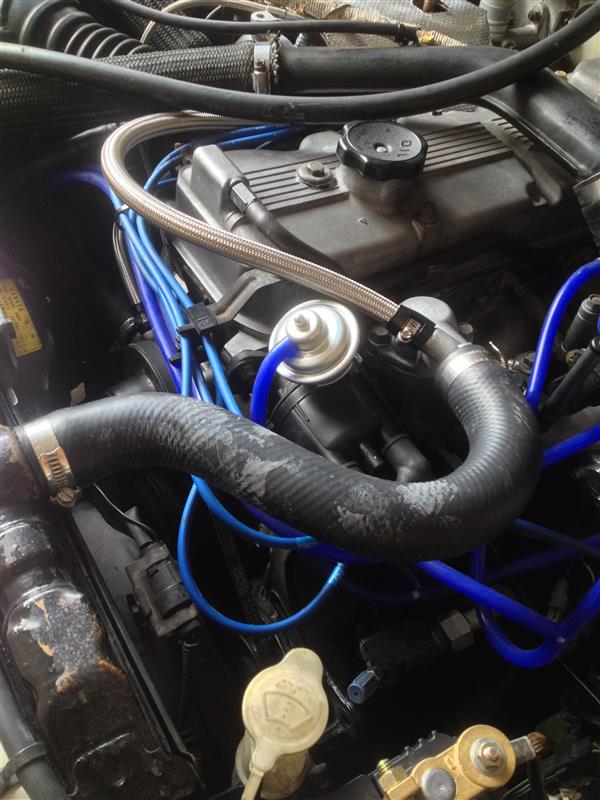
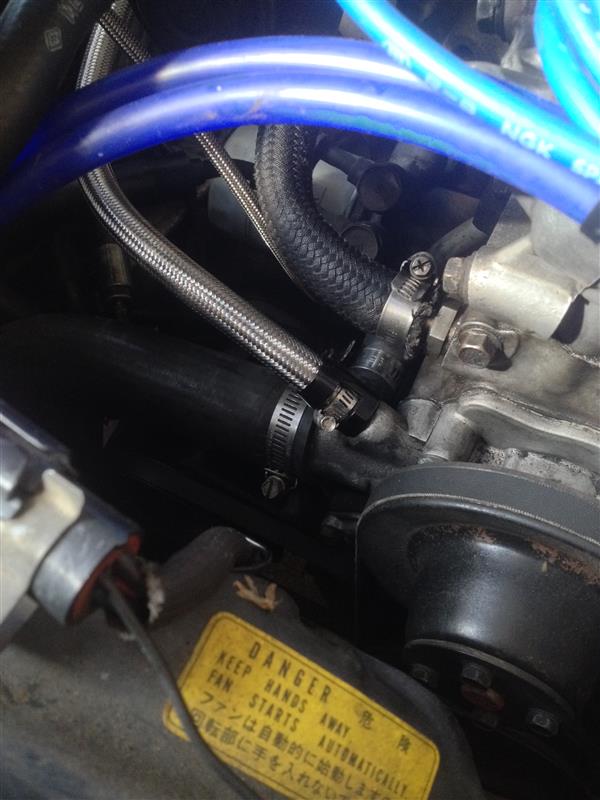
- New blue silicone hoses throughout [24/08/16]
- Rebuilt Throttle body [07/04/2016]
- Blitz Dual SBC EBC set to 12 PSI [PO]
- NGK leads w/ insulators [22/03/16]
- NGK BUR7EA-11 spark plugs [06/12/16]
- Acdelco 430 CCA battery [23/03/16]
- Brass battery terminals [23/03/16]
- New Gates drive belts [30/03/16]
- New Borg Warner rotor button
- New Bosch distributor cap
- New vacuum advance
- New OEM exhaust manifold gasket [02/04/16]
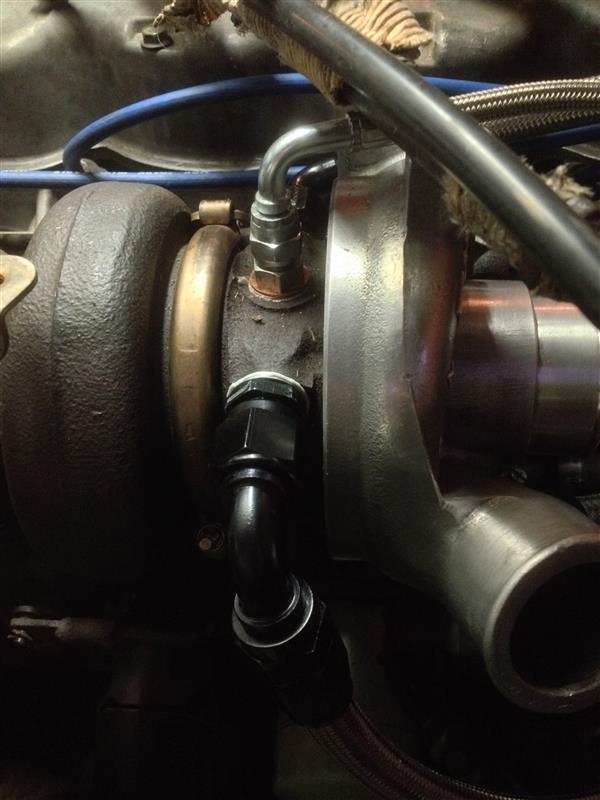
- New turbo, dump pipe & oil gaskets [02/04/16]
- New Bosch style injector clips [04/04/16]
- Bosch 02 sensor
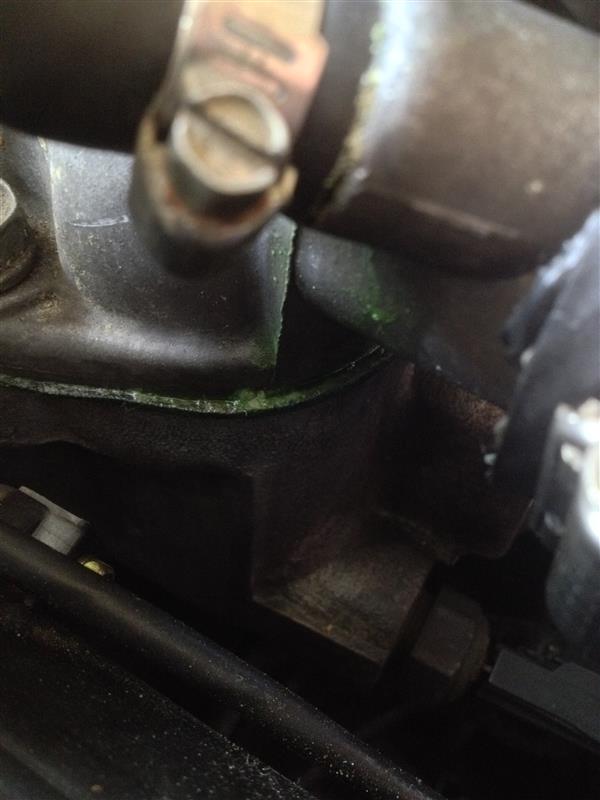
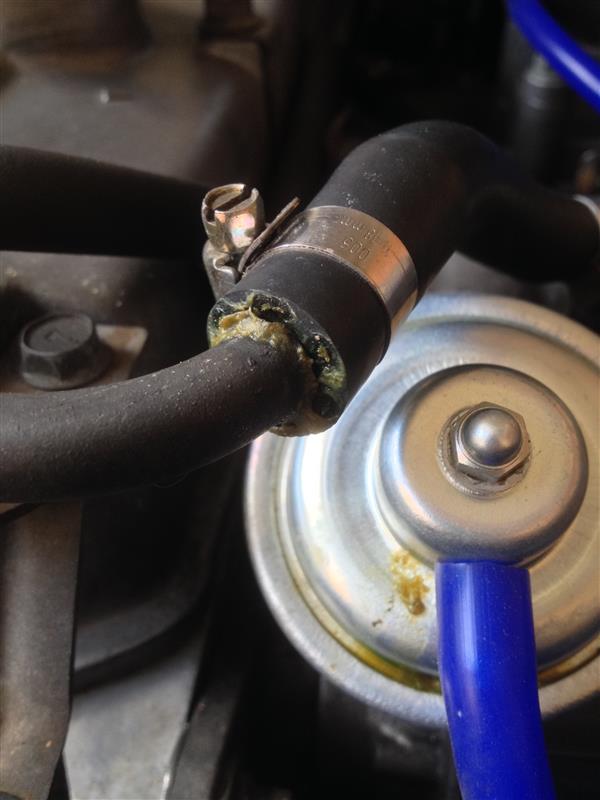
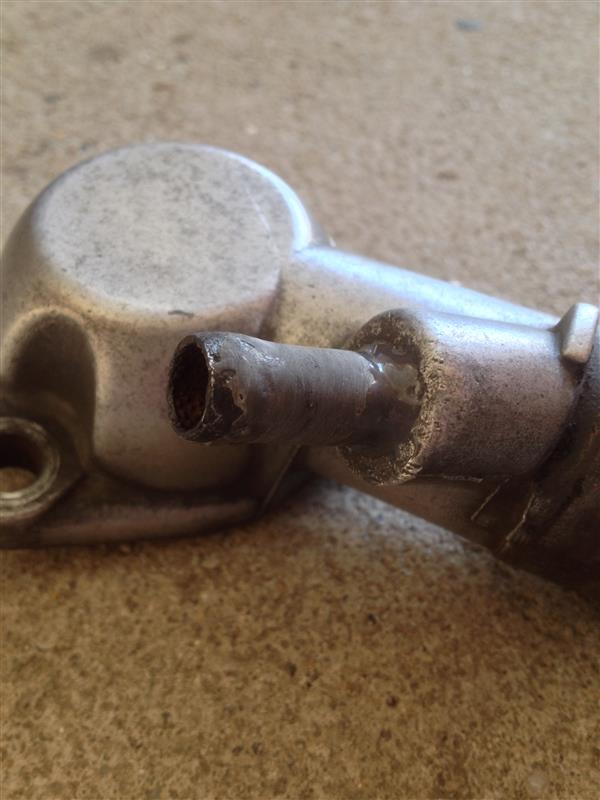
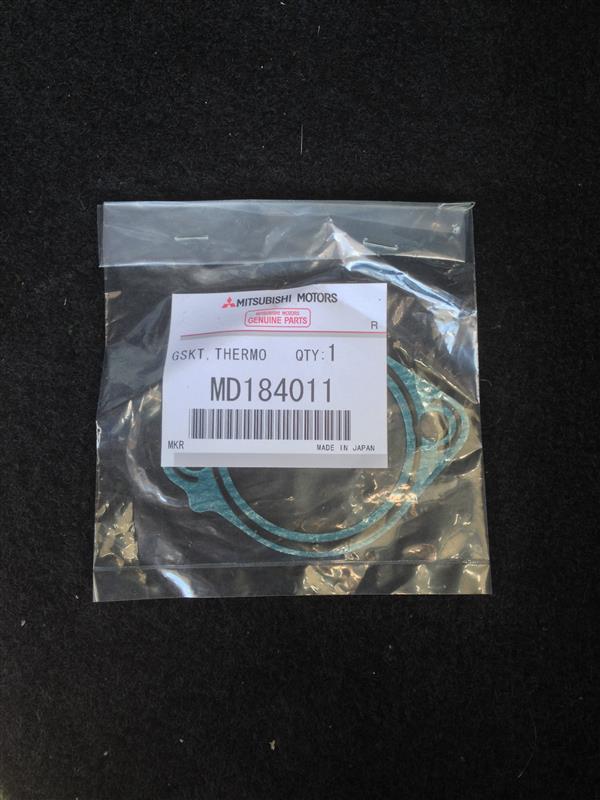
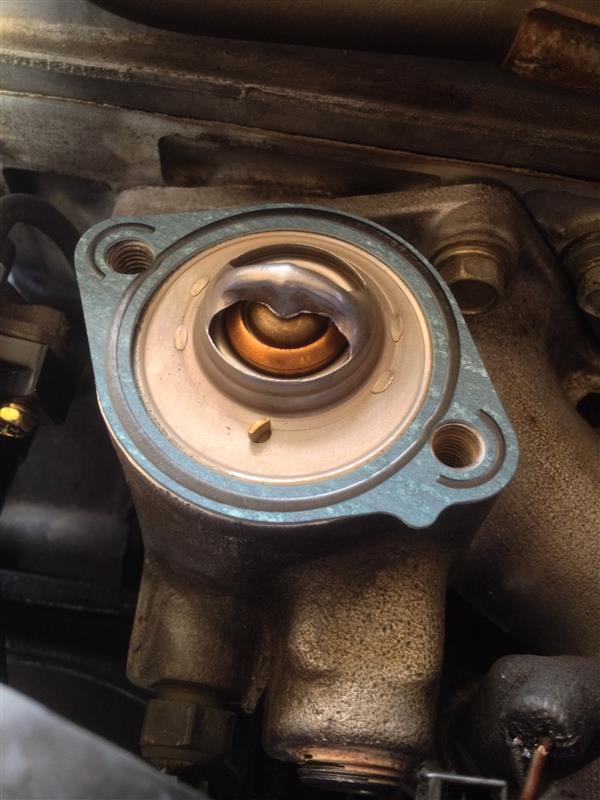
- New 180F thermostat & gasket [07/04/16]
- JMF aluminium brake resevoir cap
- New OEM rad cap
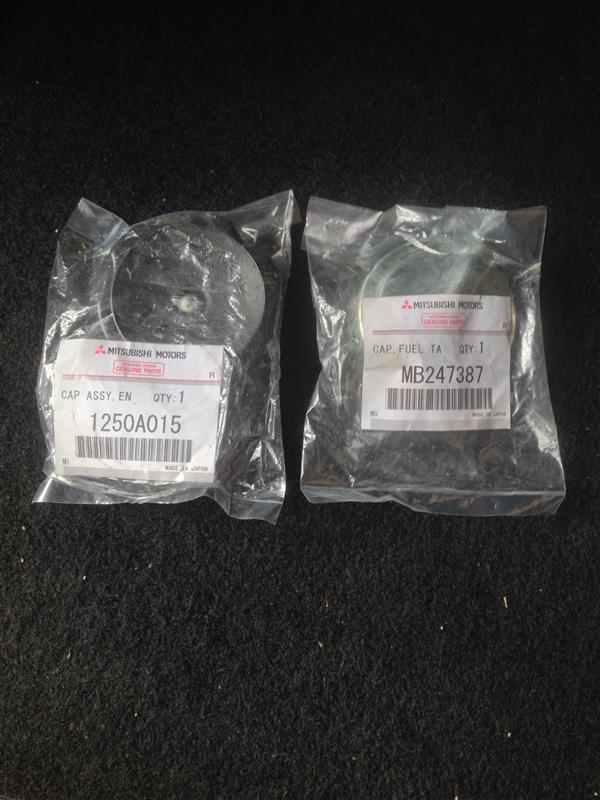
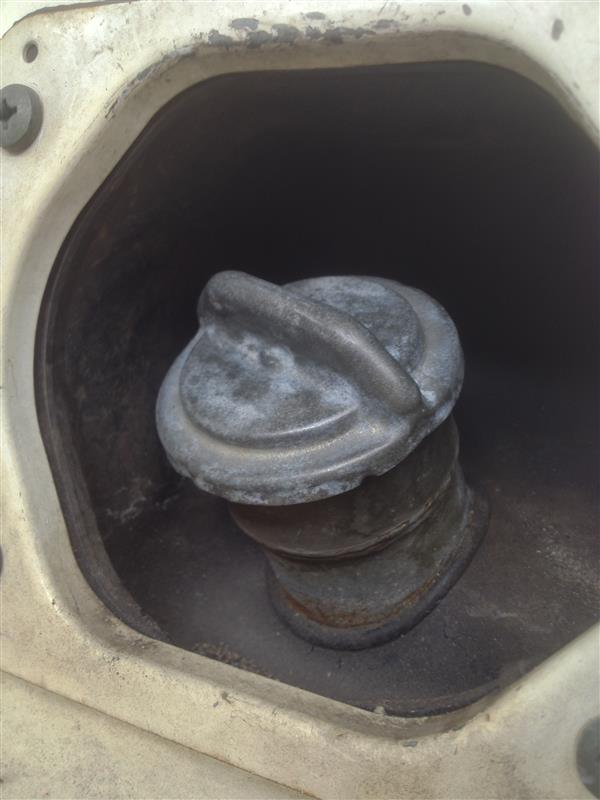
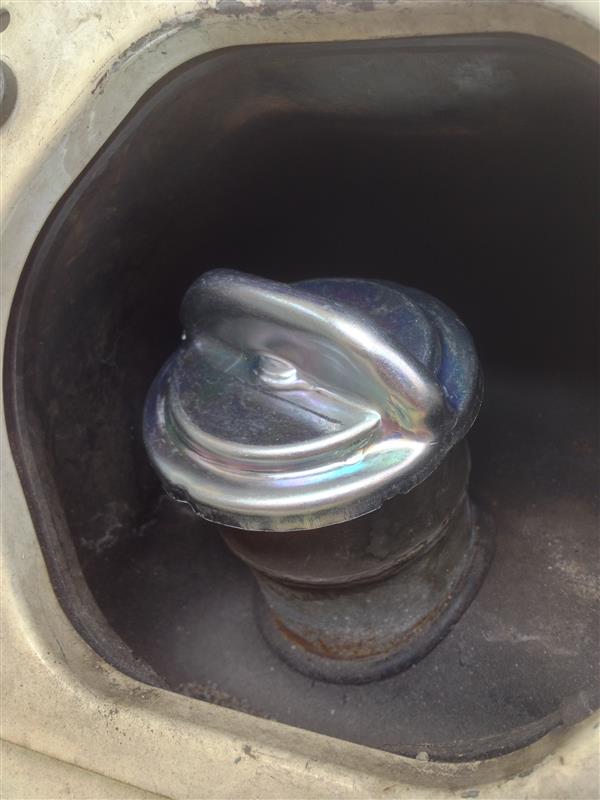
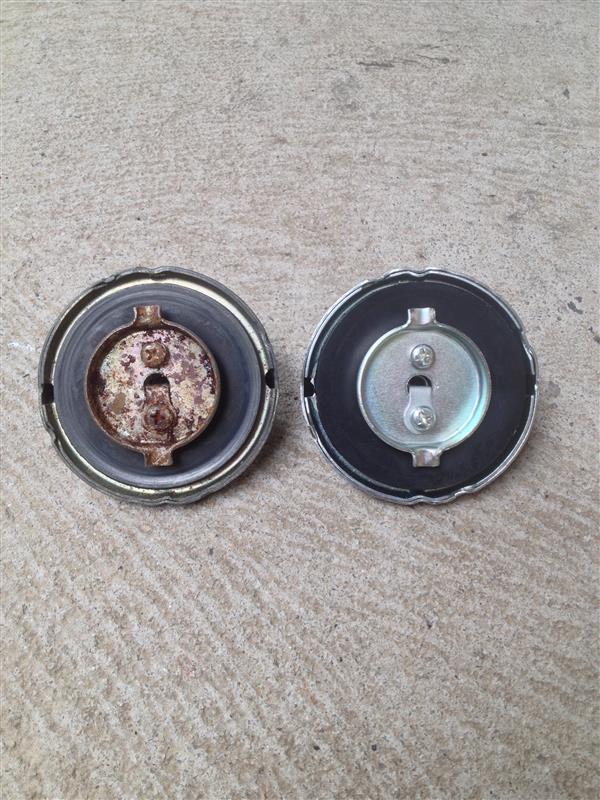
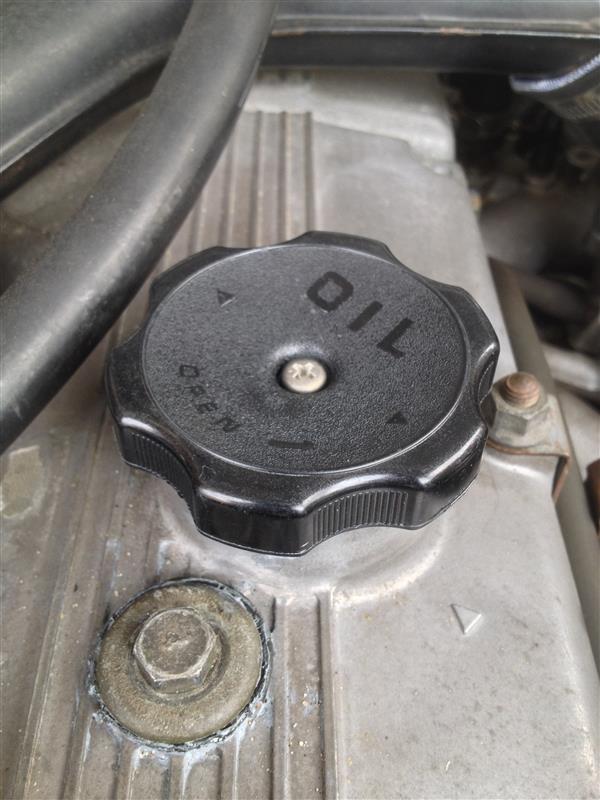
- New OEM oil & fuel caps [28/07/16]
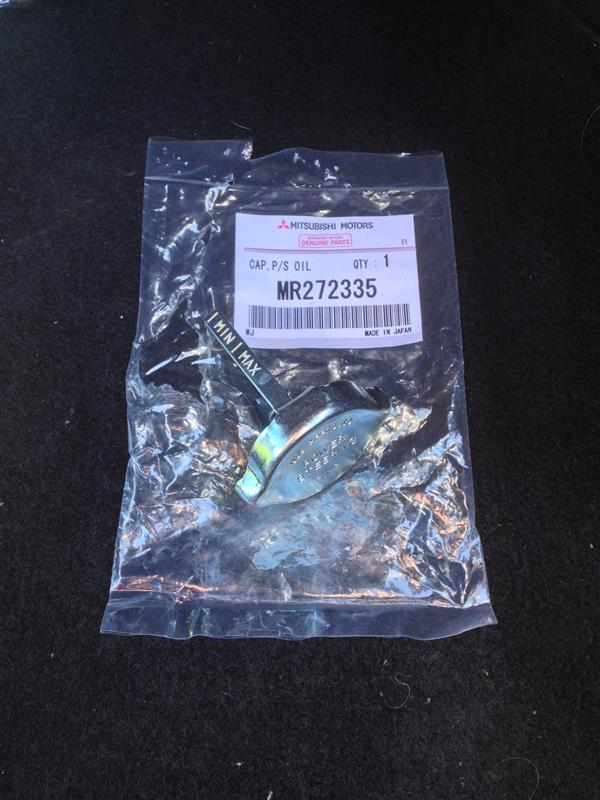
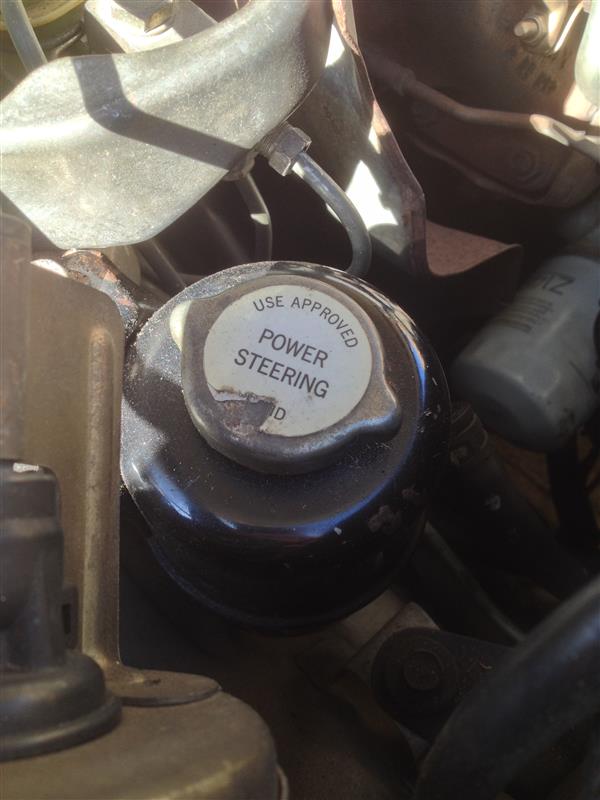
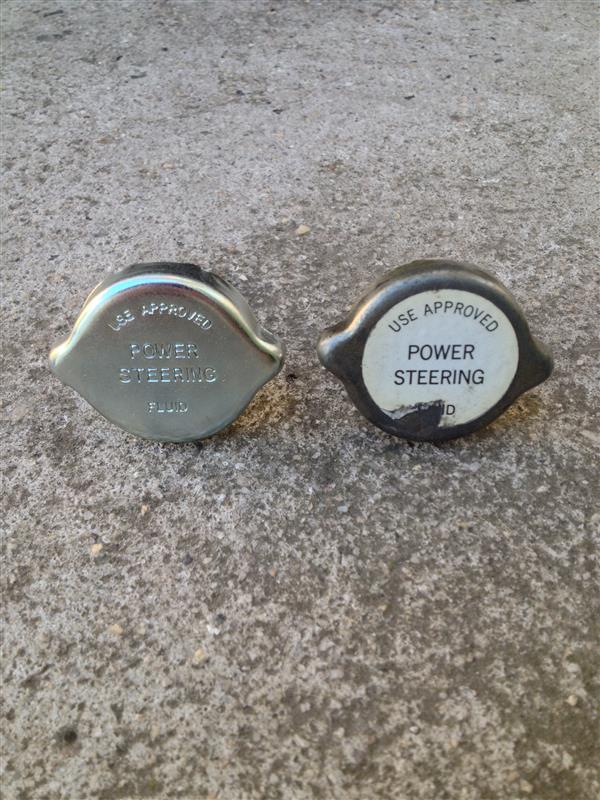
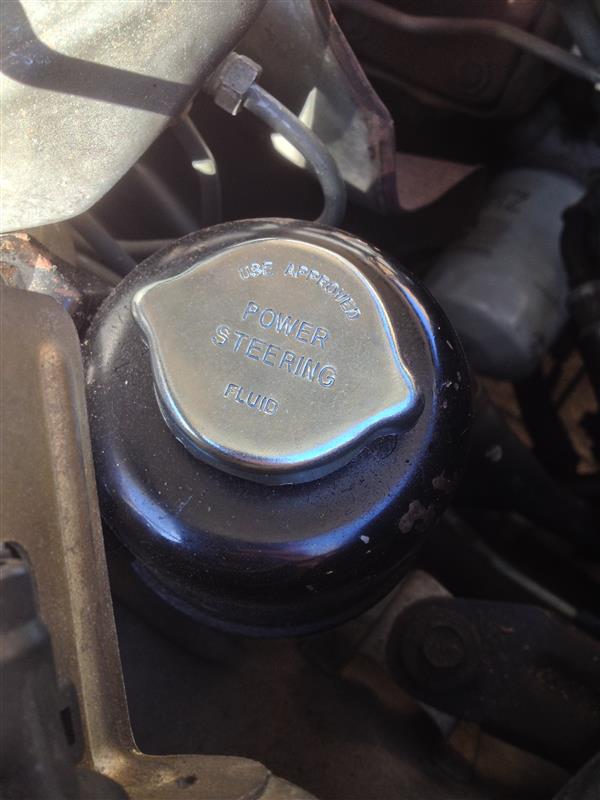
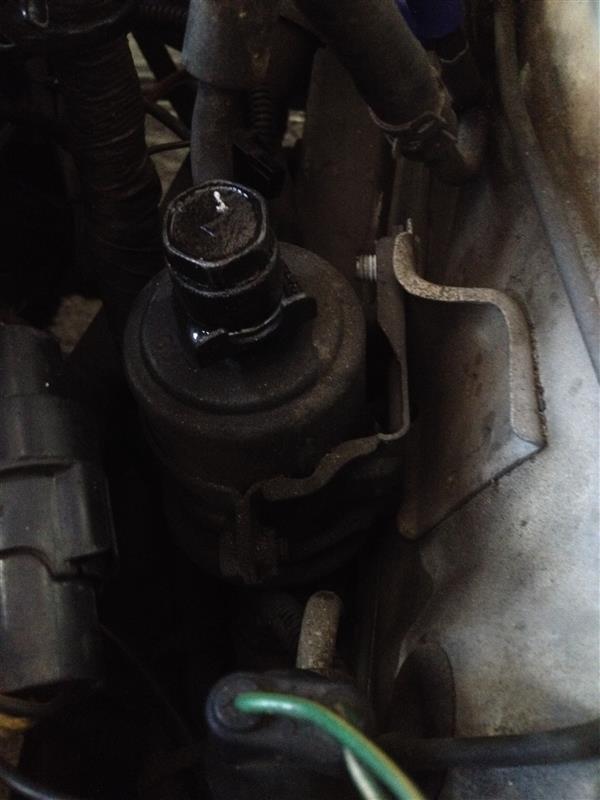
- New OEM P/S reservoir cap [23/08/16]
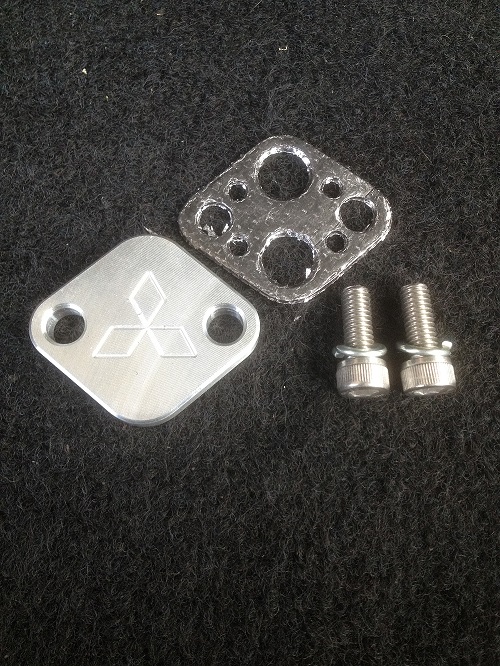
- MK1 EGR blanking plate [14/07/16]
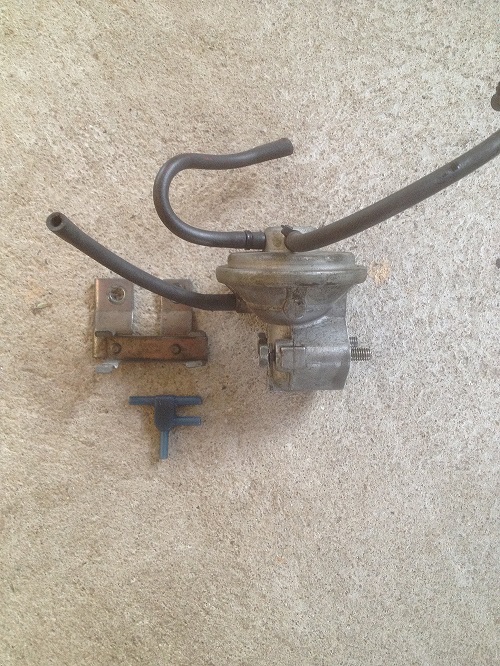
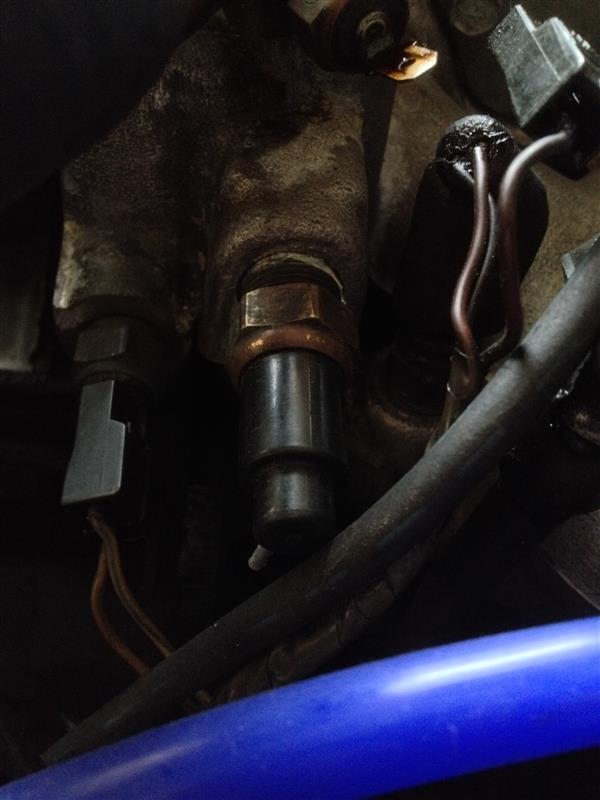
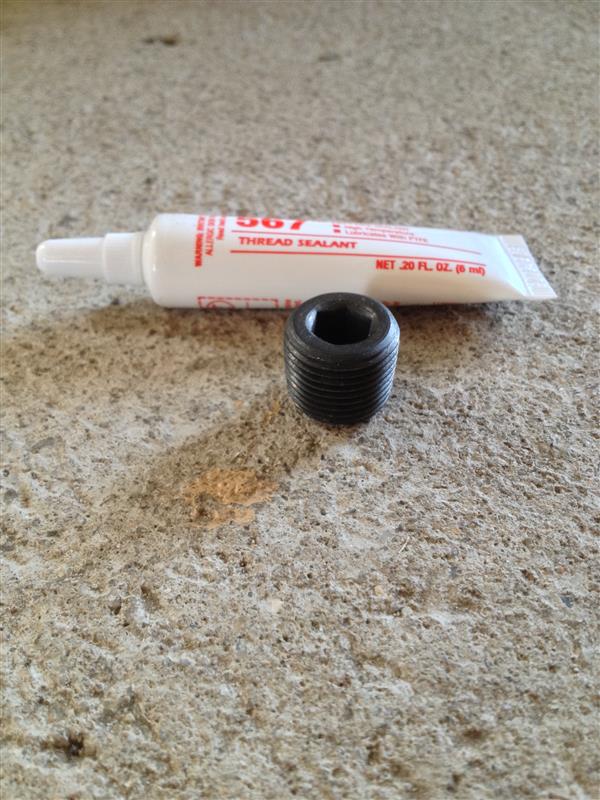
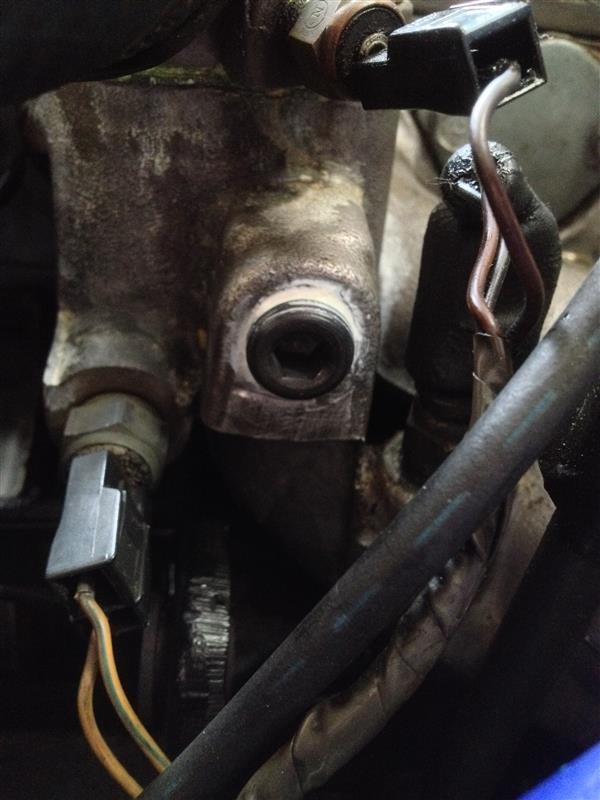
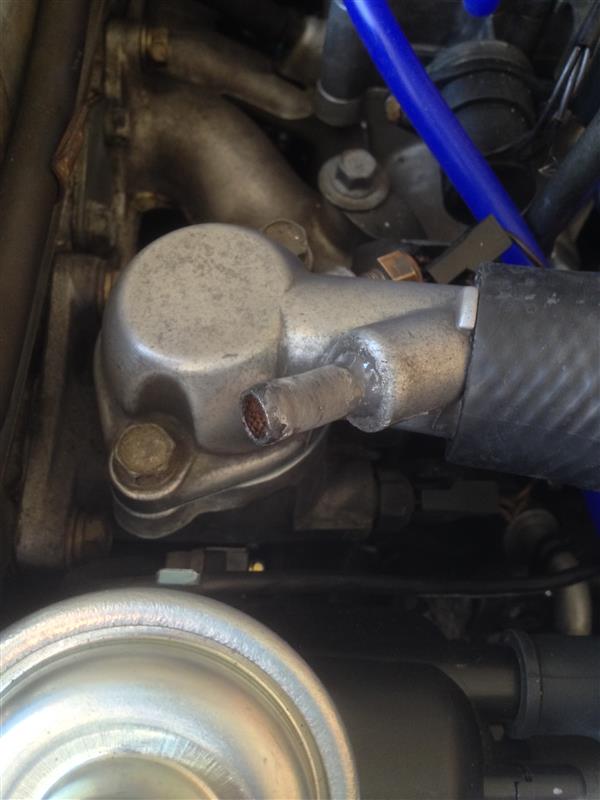
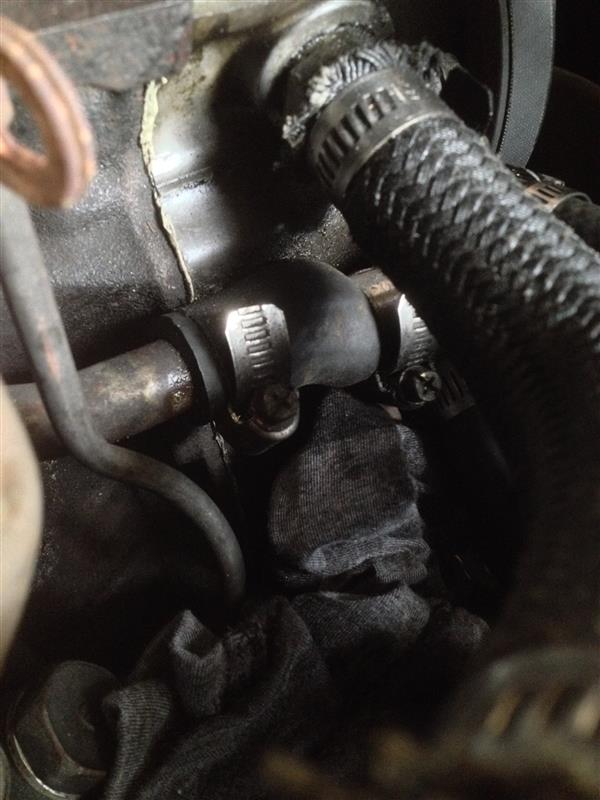
- EGR thermo valve deleted [24/08/16]
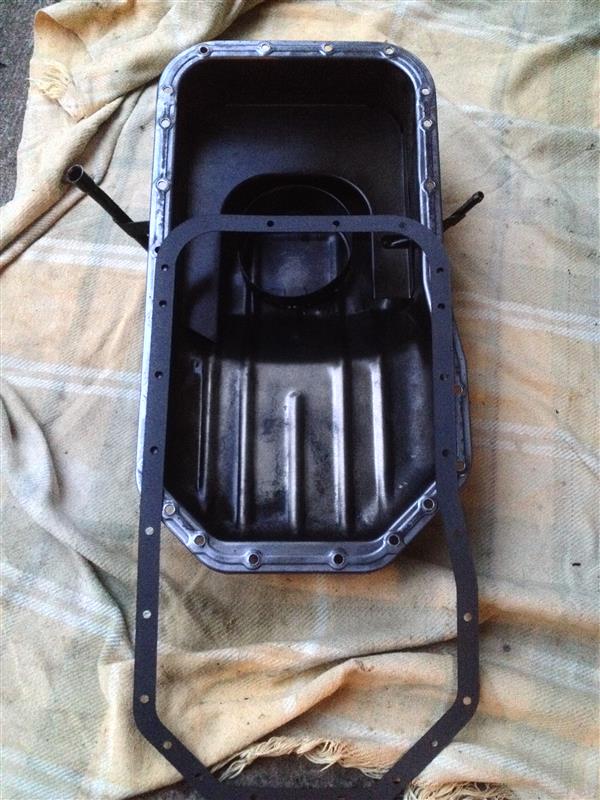
- New OEM oil pan plug
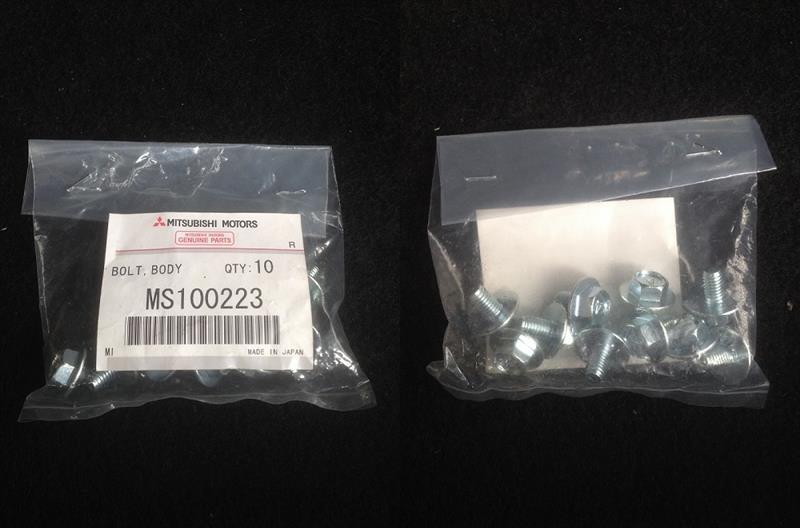
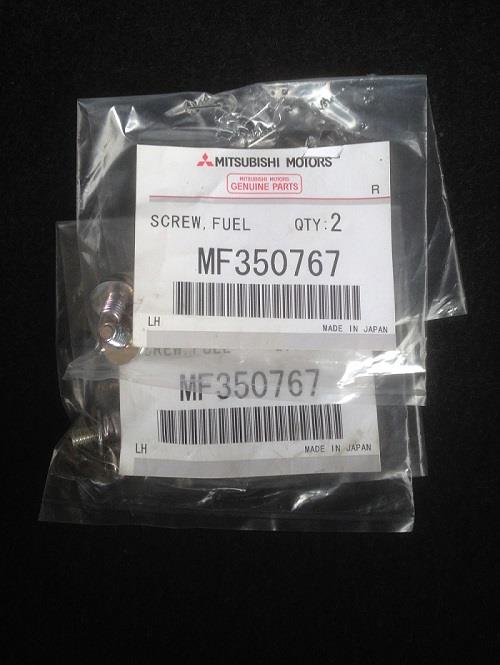
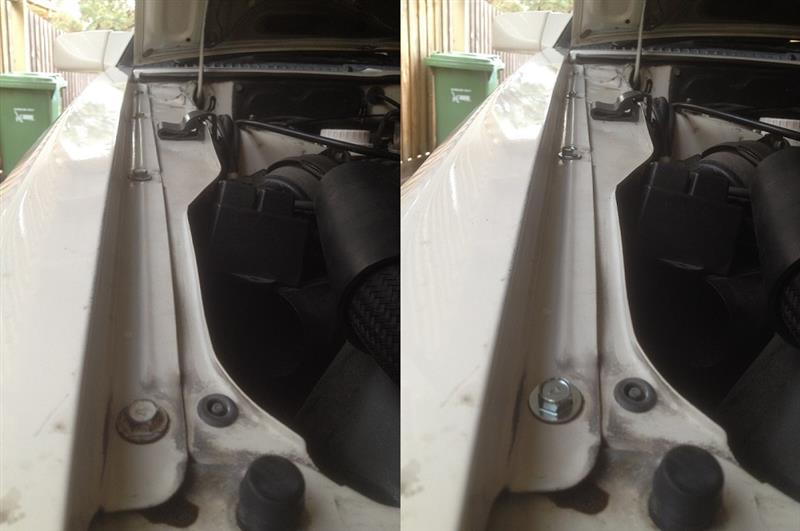
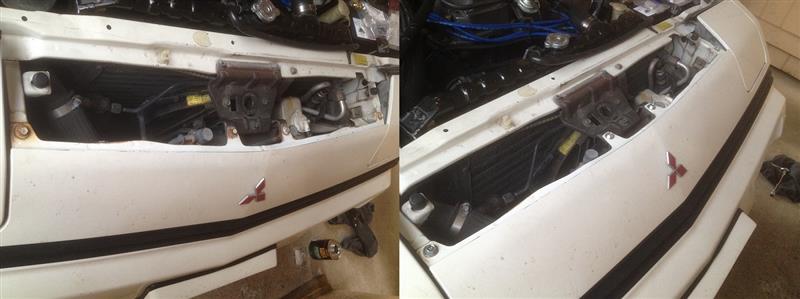
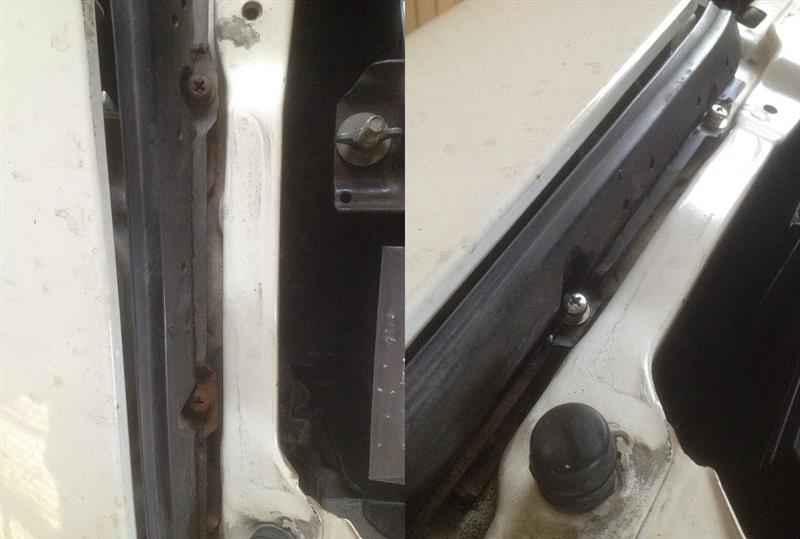
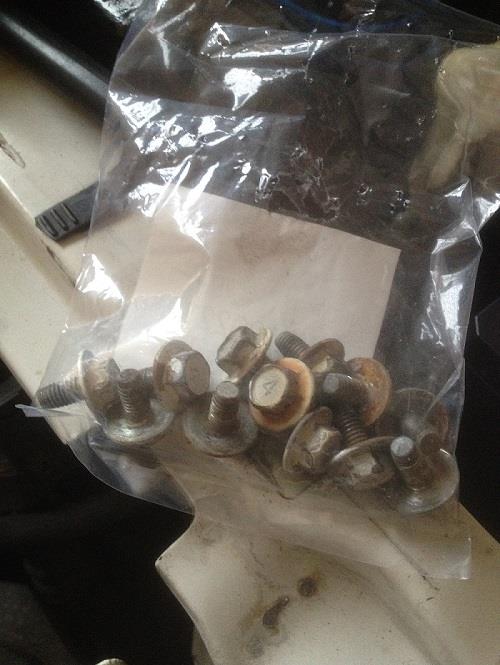
- New OEM engine bay stainless mounting bolts & screws [06/07/16]
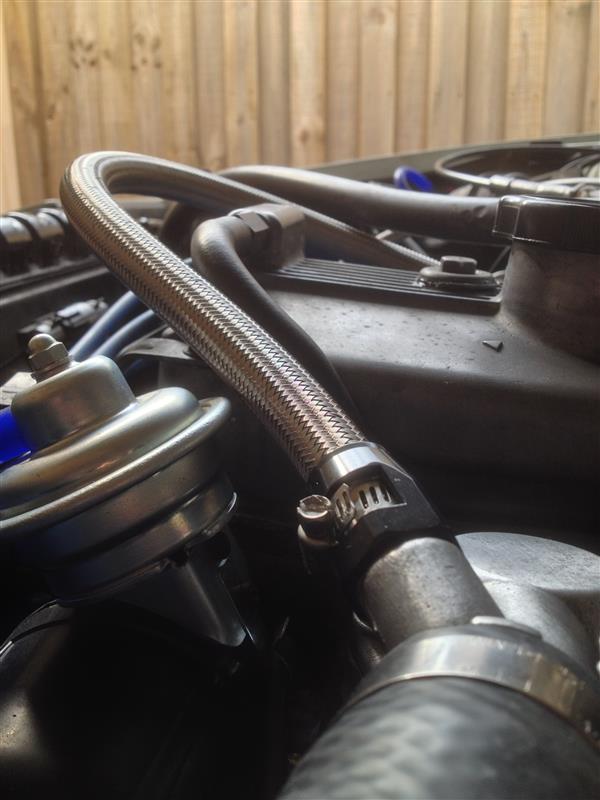
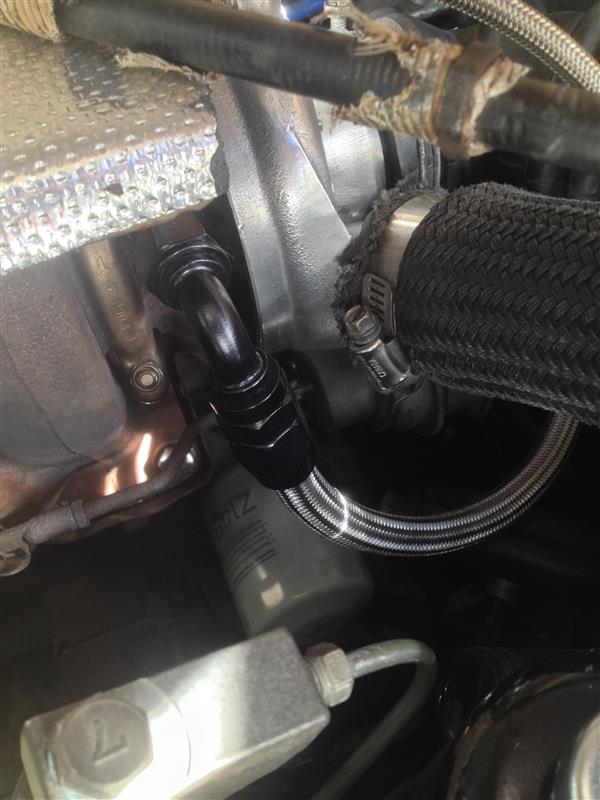
- New braided oil, fuel & water lines [--/--/16]
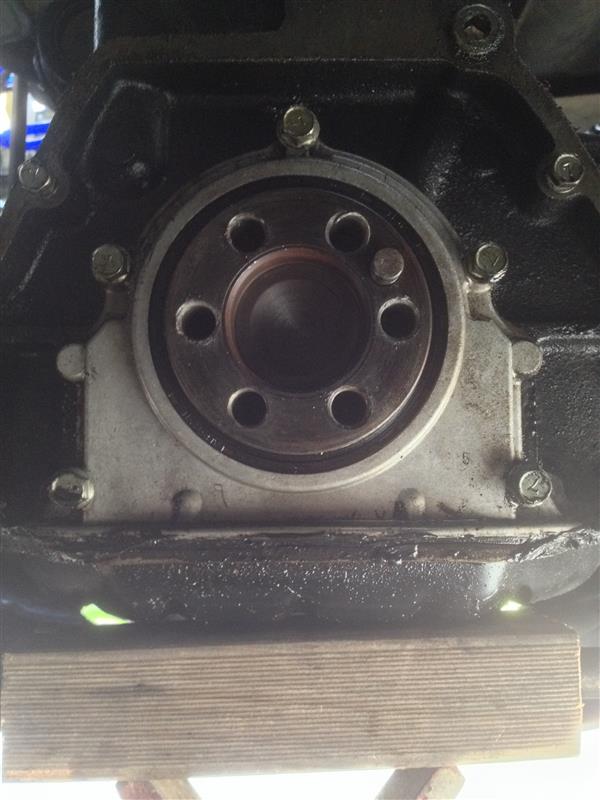
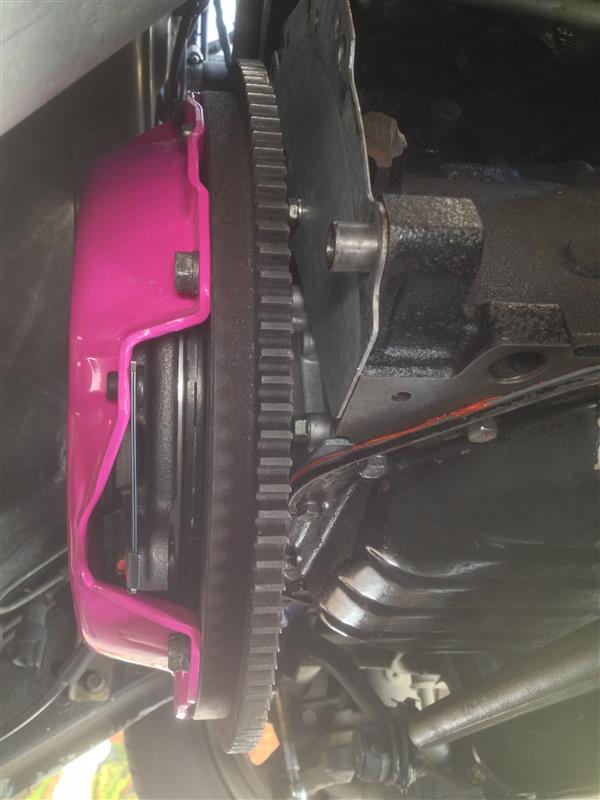
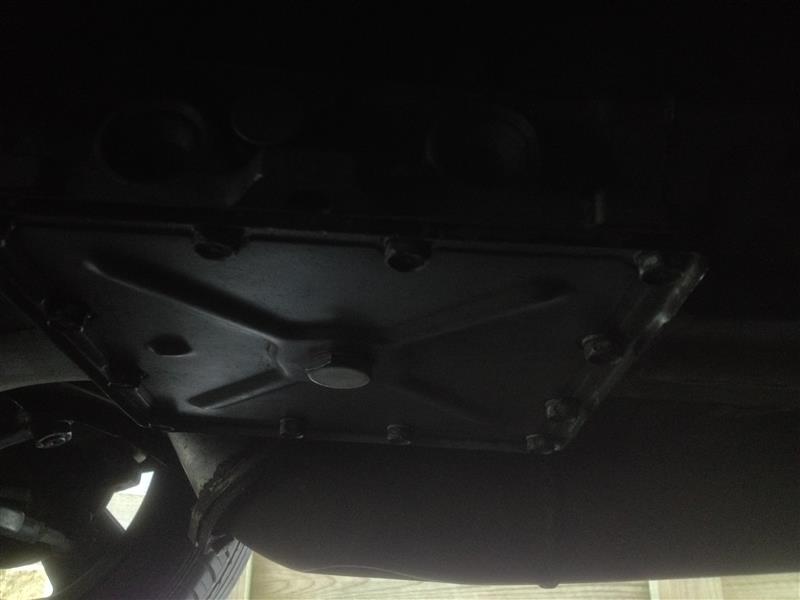
- Custom bell housing inspection cover (temporary)
To be fitted:
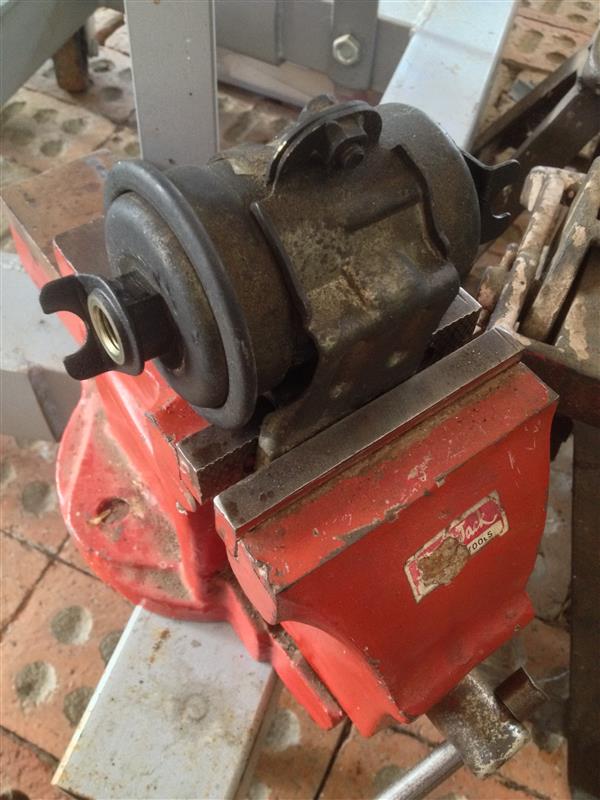
- Refurbished 14G turbo w/ new studs & titanium nuts
- Mazda TPS (in the mail)
- MotoCam air diversion panel (in the mail)
- Trilogy adjustable fuel pressure regulator
- Rear engine mount insulator
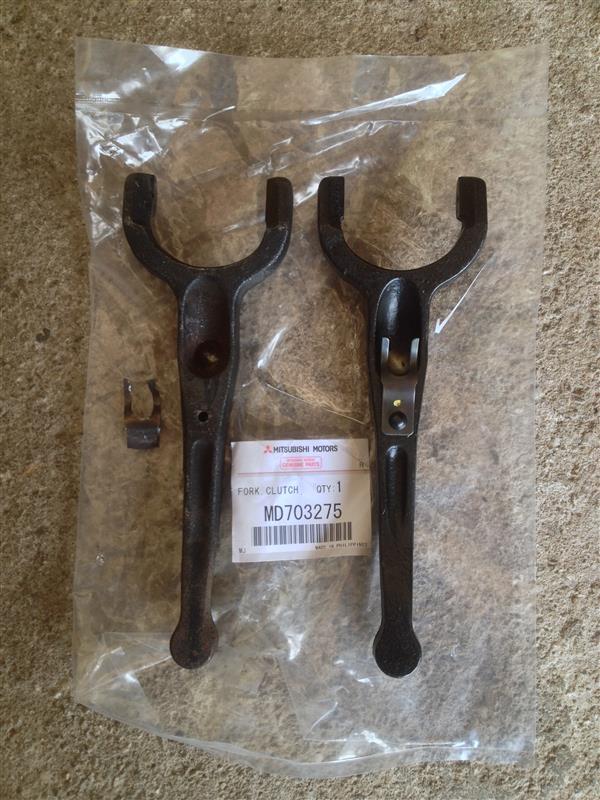
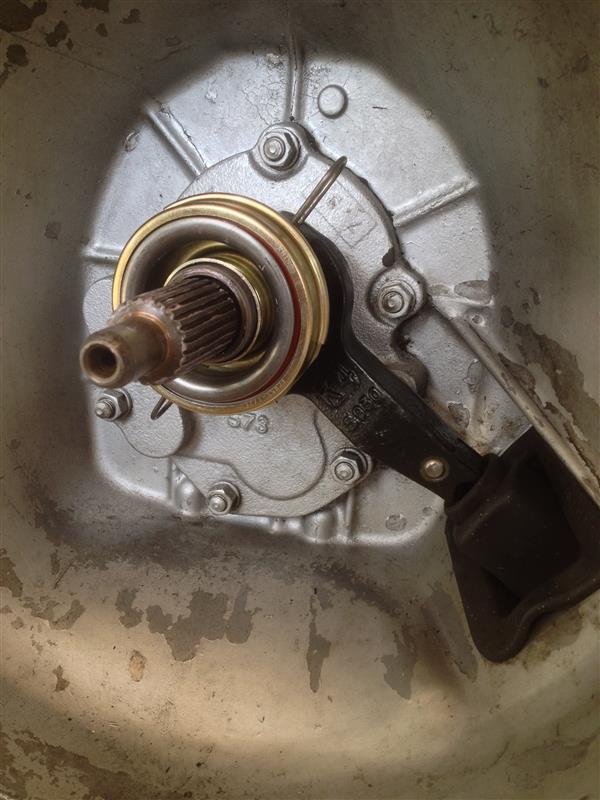
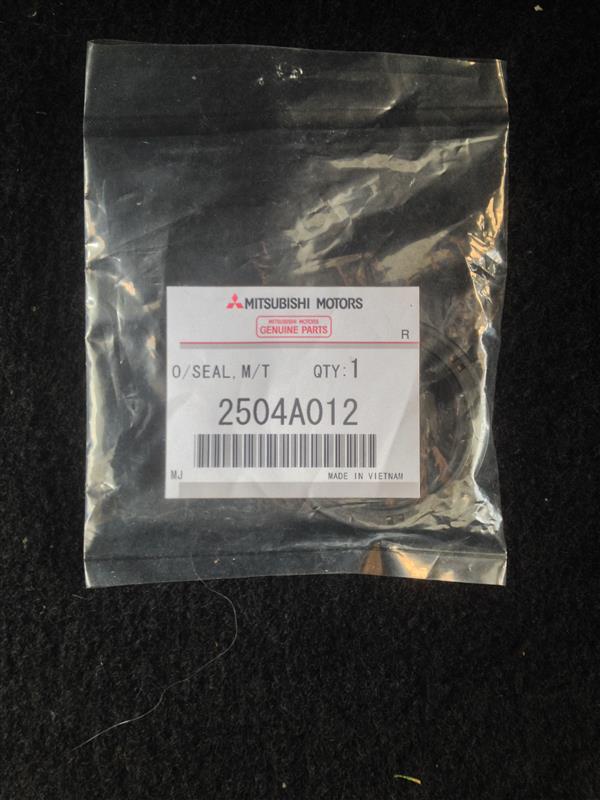
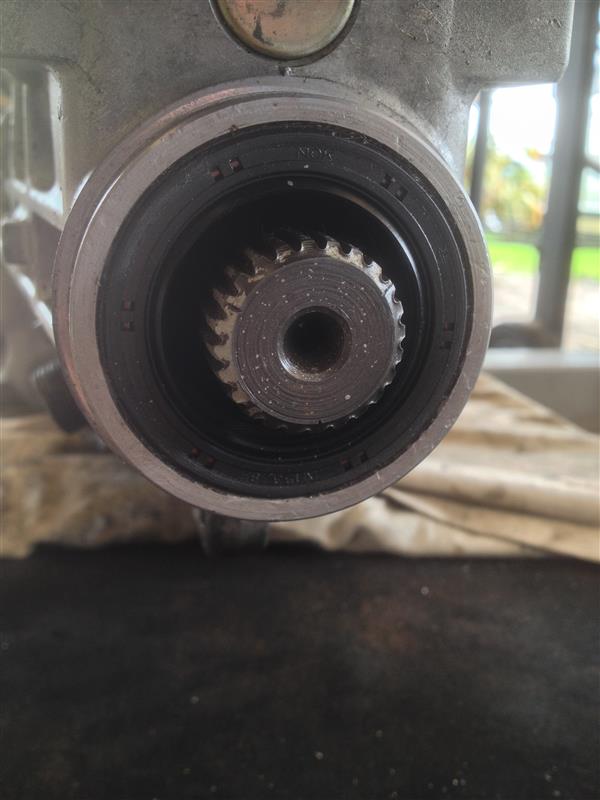
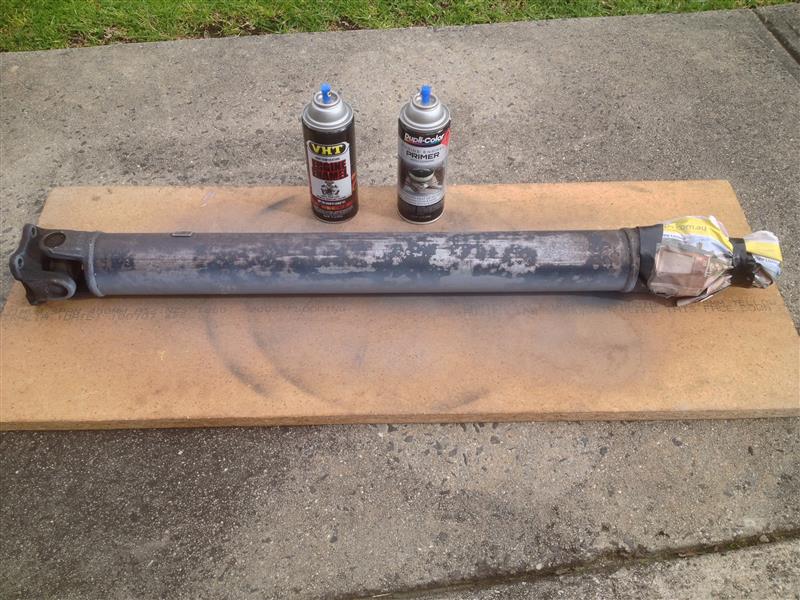
Gearbox/Driveline:
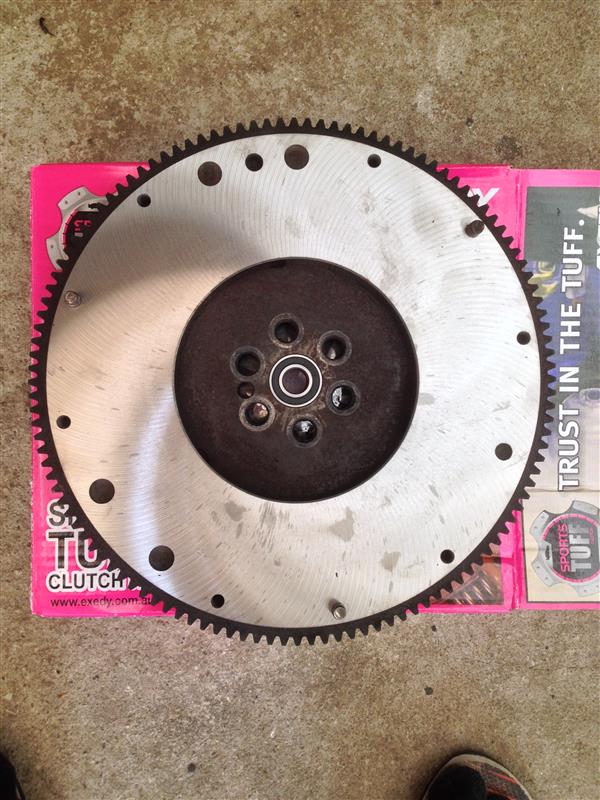
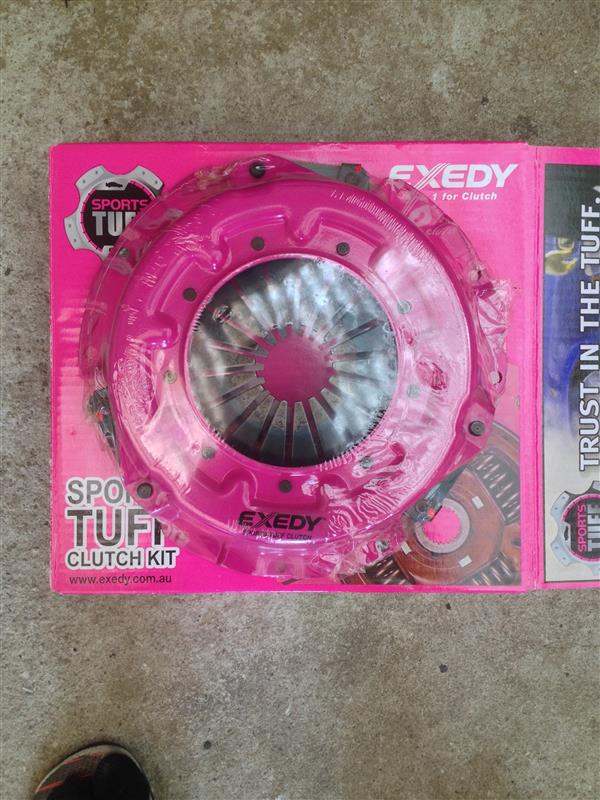
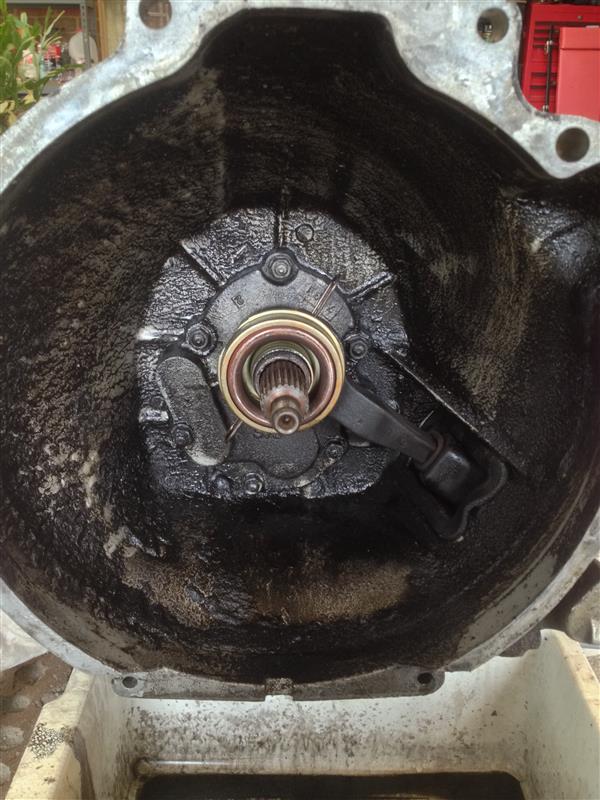
- KM132 5 speed manual conversion [PO]
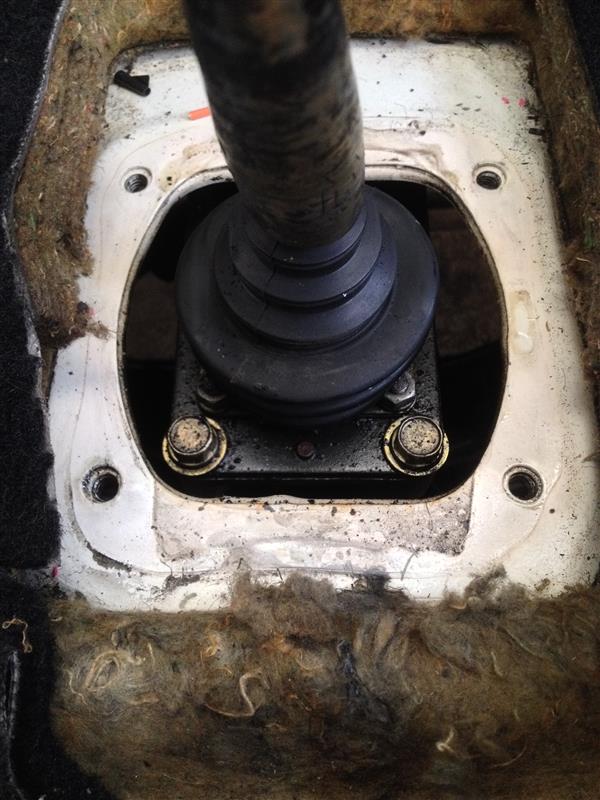
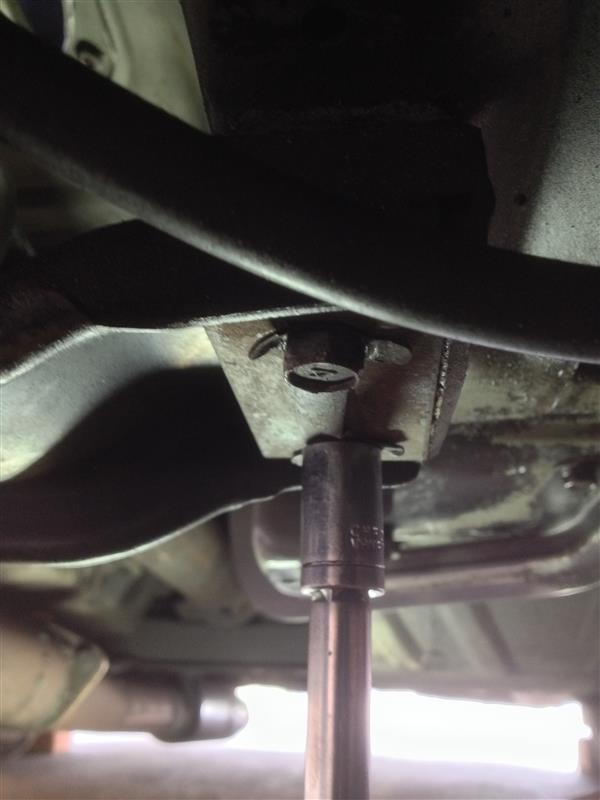
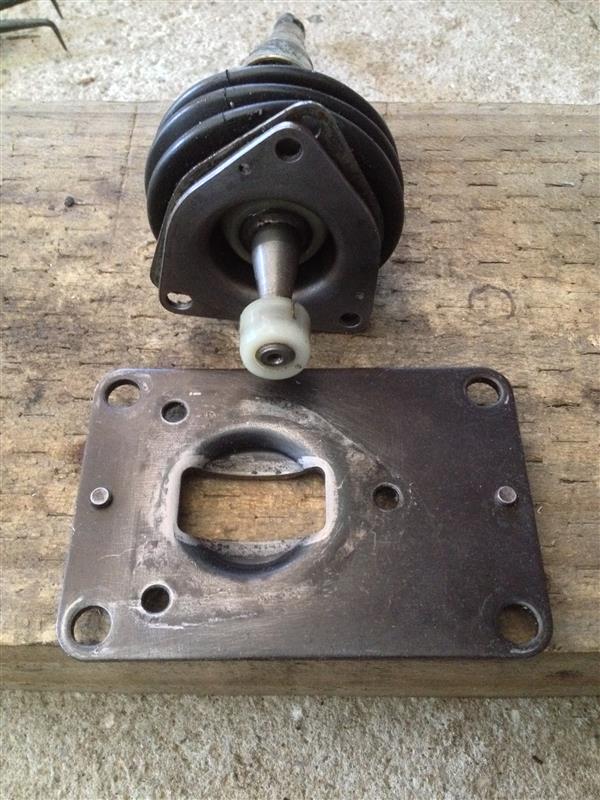
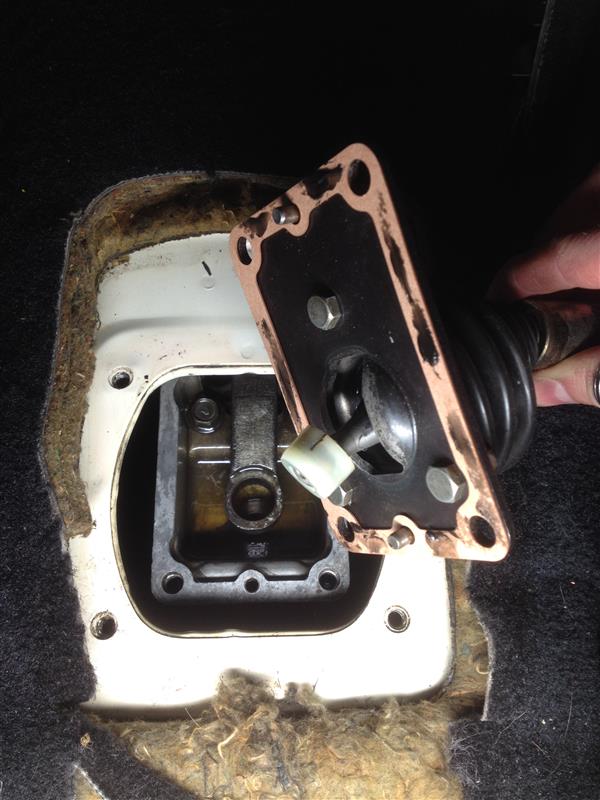
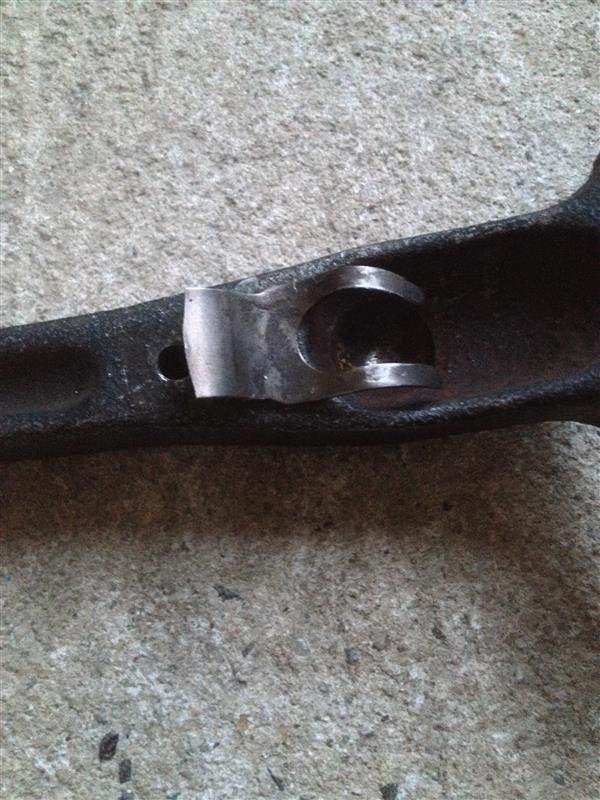
- MK1 short throw shifter (Delrin bushing in mail) [17/03/17]
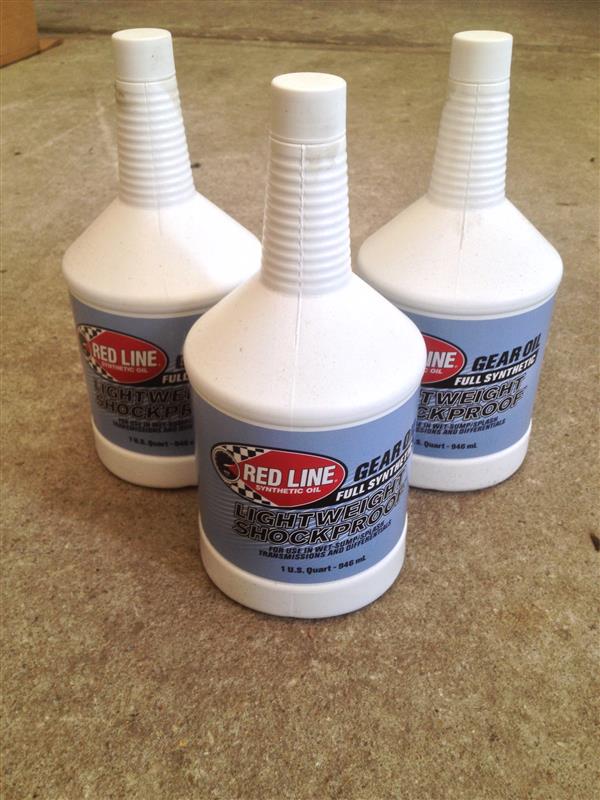
- Redline Shockproof gear oil
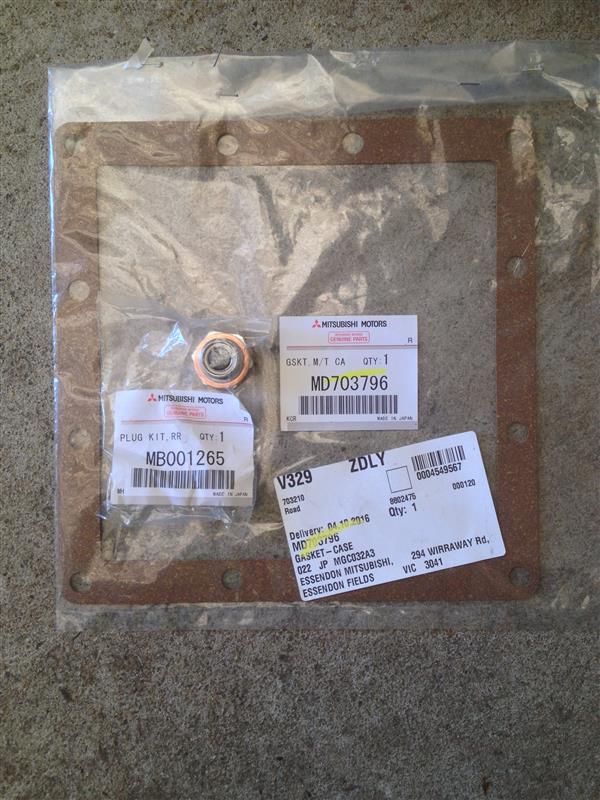
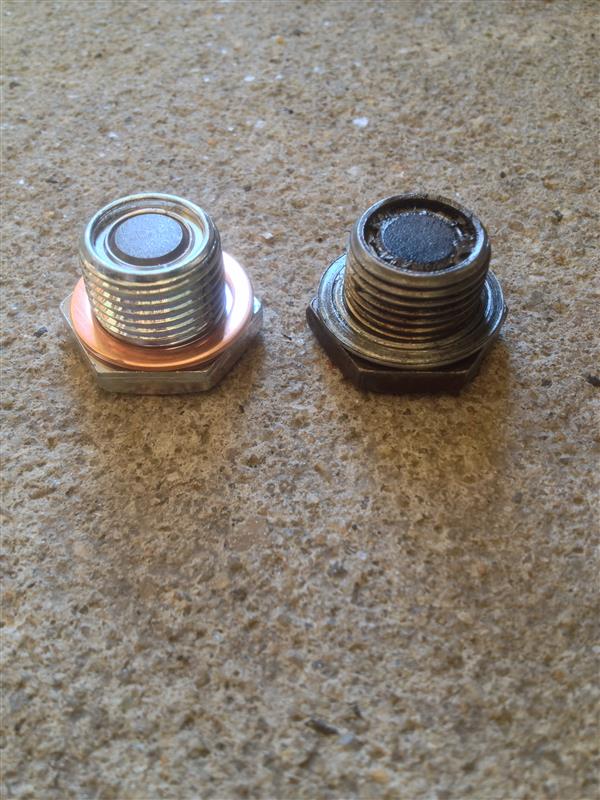
- New OEM drain plug & gasket
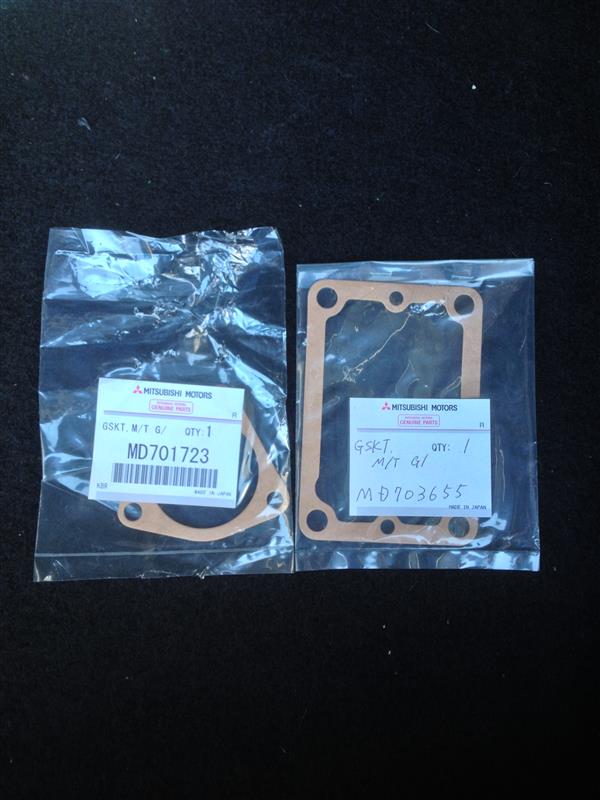
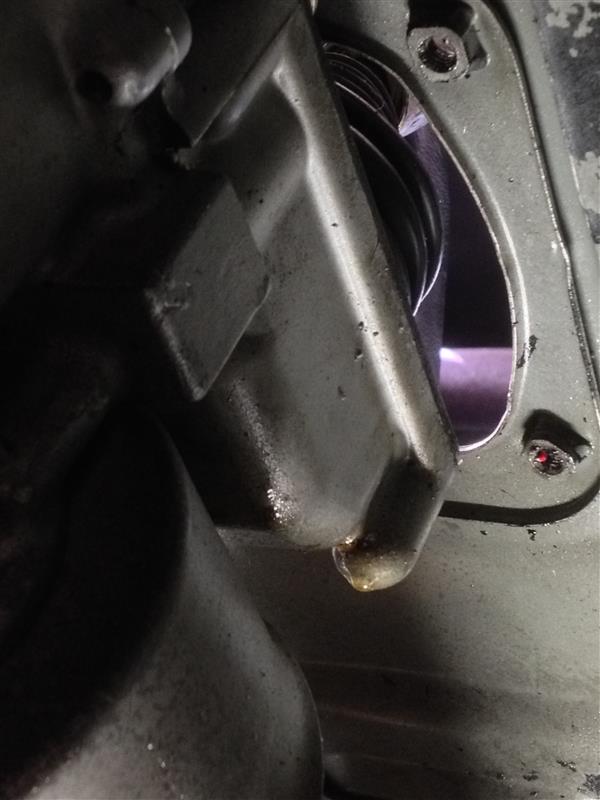
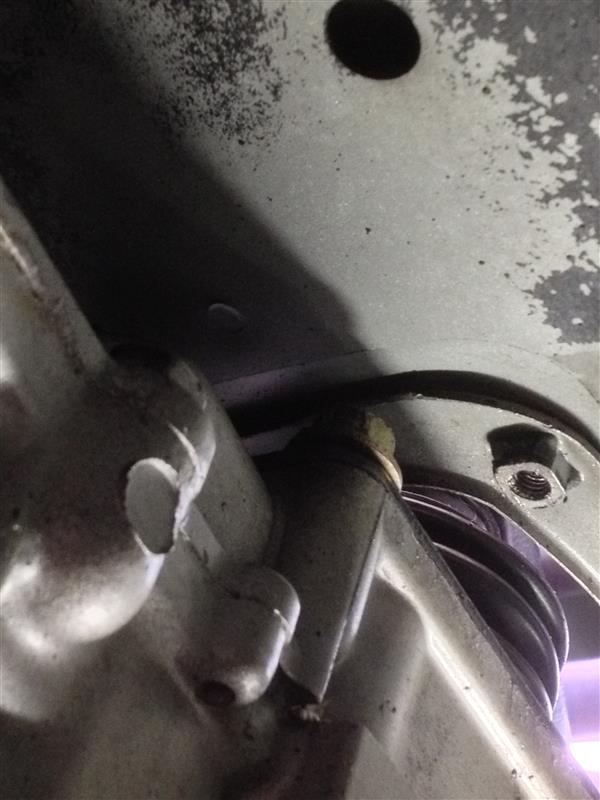
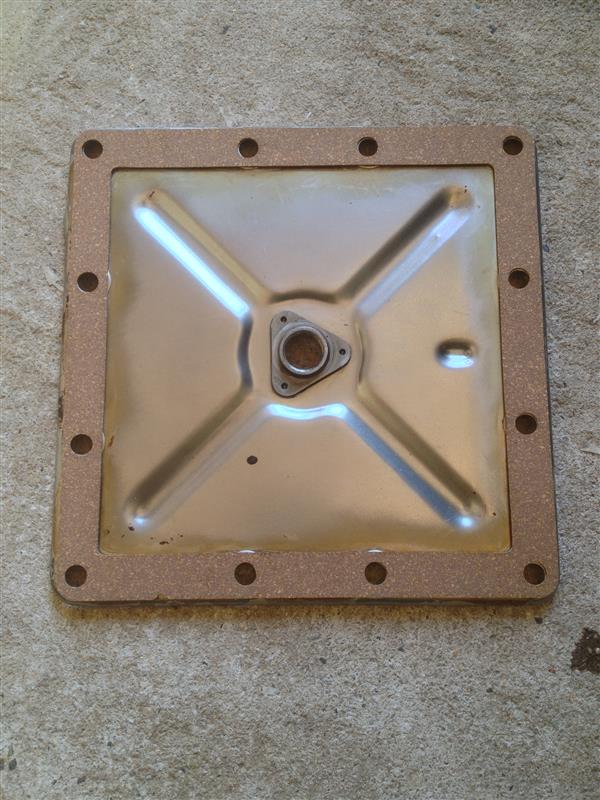
- New OEM gear shift gaskets [25/08/16]
- New LHS half-shaft boots
Exhaust:
- 3" mandrel bent turbo-back exhaust [PO]
- Magnaflow 14815 stainless muffler & axle pipe [20/06/16]
Brakes:
- Braided lines front & rear
- Cross drilled rear rotors
Suspension:
- KYB adjustable front shocks in shortened struts
- Mookeeh shortened rear shocks
- King lowered springs front & rear
- Noltech adjustable strut tops
- Cusco front strut brace
Wheels/Tyres:
- Full set of SHP (Sports Handling Package) wheels 16" x 8" / 16" x 9"
- Custom chrome wheel center caps
- 4 wheel alignment [24/03/16]
Interior:
- '84 semi-digital dash conversion [09/11/16]
- New OEM 3000GT EQ radio [28/07/16]
- New OEM leather 'weighted' gear knob [28/07/16]
- Black custom floor mats
- Magna Elite red door light lens
- Rubber gear boot replacement [07/04/16]
To be fitted:
MotoCam custom 2 DIN, 3 gauge radio panel
Miscellaneous:
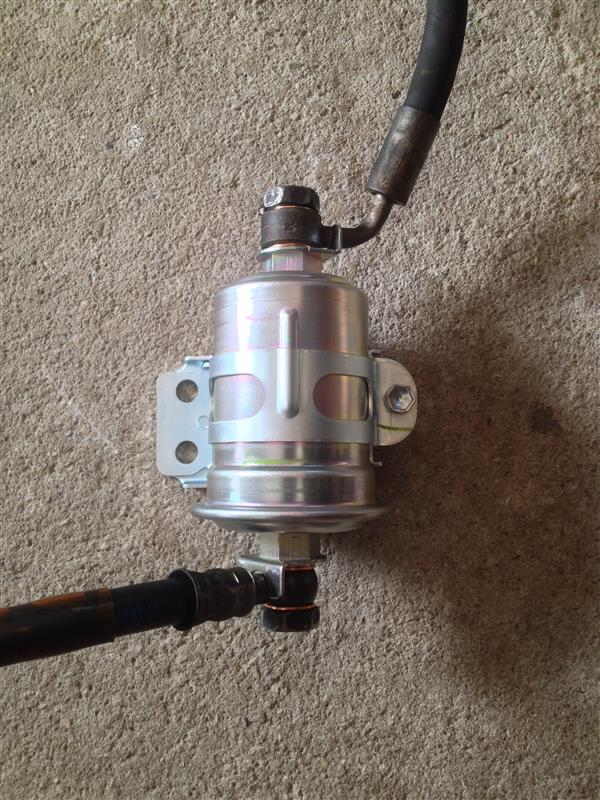
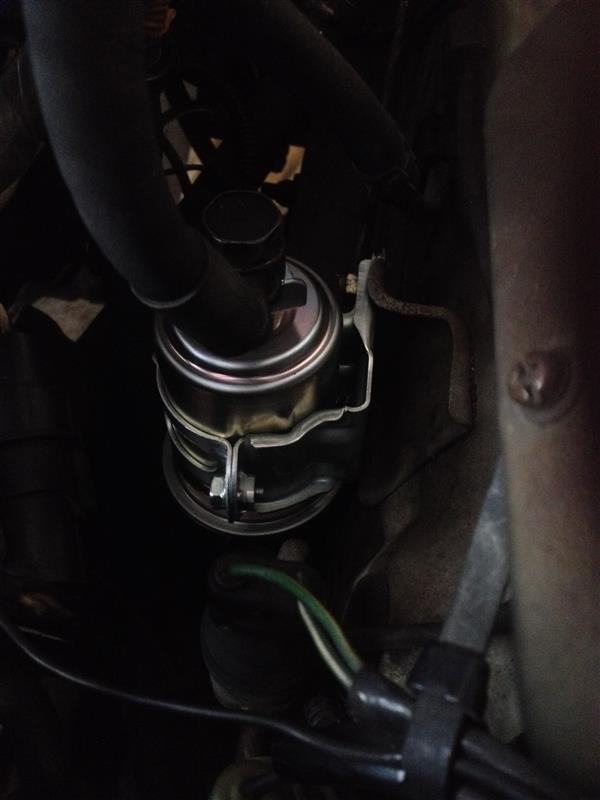
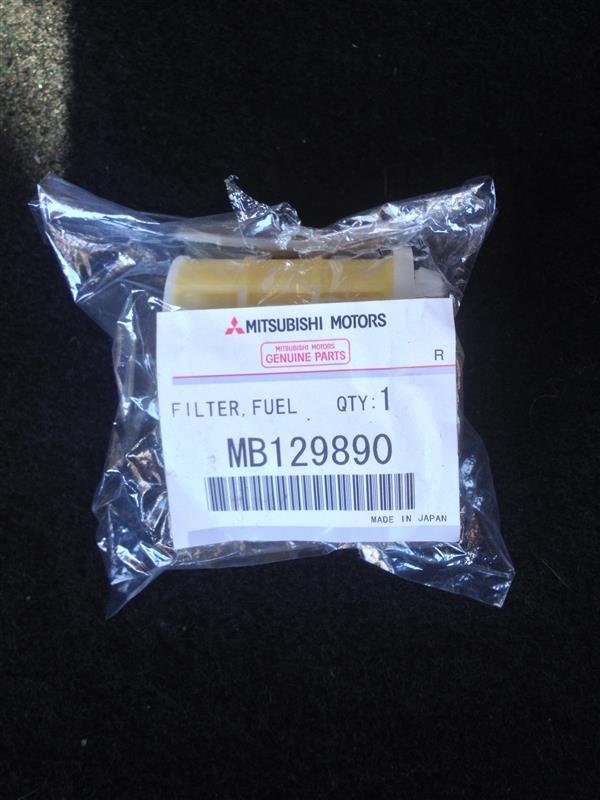
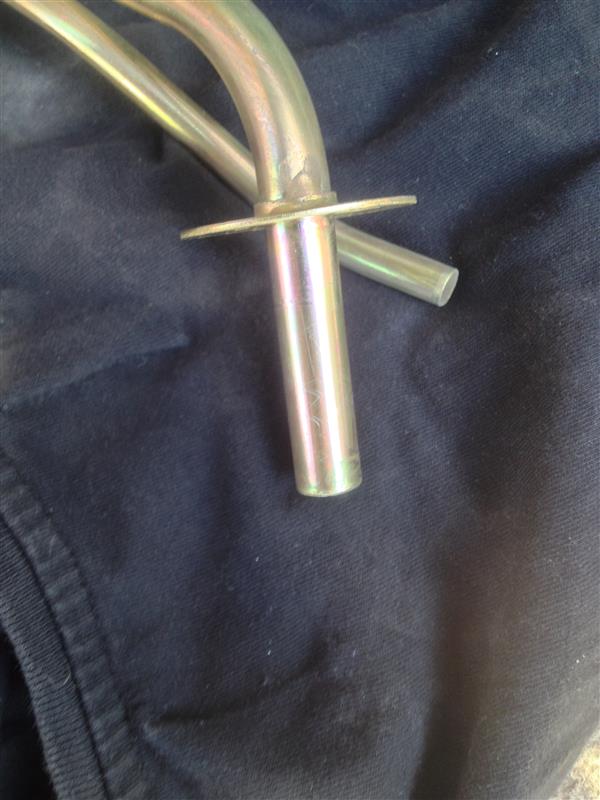
- Cruise control actuator filters replaced [06/12/16]
| Attachments: |
|
forum.jpg [ 182.92 KiB | Viewed 51432 times ] |